Showing posts with label photo. Show all posts

Friday, January 28, 2022

Make Do and Mend for free download

Make Do and Mend (1943)
I heard of "Make do and mend" years ago - as a concept. More recently, I was exploring my mending resources and I realized I did not have a copy of any British pamphlets from the World War II era when  "Make Do and Mend" was a thing. Obviously I googled away, but it was not available anywhere I could find.
Then it dawned on me I could just buy it, because such pamphlets were widely distributed. Reproduction prints are available but it's not worth it, because the real thing is available for less. So I bought a 1943 copy from ebay.co.uk, then I scanned it and cleaned it up for you. For YOU, dear reader. (If you're wondering, copyright has expired.)
That's right: free, downloadable, and printable! 

Context

This pamphlet "Make Do and Mend" was published while the UK was fighting the Nazis in WWII. Many everyday products that were imported to the country, like food, became scarce due to submarine attacks on cargo ships. At the same time, local production was focused on supplying the soldiers on the front line. Everything from wool for uniforms, silk for parachutes and maps, leather for boots, metal for munitions, rubber for tires, even soap and paper -- everything you could think of -- became hard to find, expensive, and even rationed.
As a result of the war, householders had to "make do" with things they already had. Decorative gardens were plowed under to become vegetable gardens, new fashions a thing of the past, and everyone had to get good at repairing things or making do without.
The booklet I have uploaded is focused on mending clothing. Lots of different things are covered, from repairing holes and wear in everything from stockings to overalls to towels; repurposing larger clothes into smaller clothes; modifying too-small or worn-out clothes to extend their life; and unpicking knitted items to reuse the woolen yarn in something else.
There are a few things to keep in mind. For starters, all clothes at the time were made of natural fibers or rayon (a semi-synthetic fiber made of wood). So all those great indestructible polyester fabrics you see in disco suits at the thrift store were not around during the war. Also, women were "traditionally" expected to do all the household labor and had to know how to: sew items from scratch and make repairs; knit; crochet; and make or at least embellish other items like hats. Not to mention do all the laundry for the household along with all the ironing (this helped extend the life of garments) and you know... all the other chores. Cooking, gardening, tidying, shopping, keeping up the utilities, organzing repair specialists (for machines, carpentry, etc)... All of it.
So there's your context! I find the topic of wartime making-do to be pretty interesting, so if you have any questions please, the comment area is open!

Sunday, October 2, 2016

Mending: The Hemmed Patch

THE HEMMED PATCH Right handers should sew right to left (as shown) and Lefties, left to right.

Introduction

For this series I am going through an old sewing book and experimenting with the projects within it. The book is called "The Sewing Book, Containing Complete Instructions in Sewing and Simple Garment-making for Children in Primary and Grammar Grades," Edited by Anne L. Jessup, Published by the Butterick Publishing Company, New York NY, 1913. The book is out of copyright (and free to all). It has been scanned as part of the Google Books effort and is available in various formats, visit https://books.google.com/books/about/The_Sewing_Book.html?id=b7wwAQAAMAAJ

Hemmed Patch


[Practice] Supplies

Checked or Striped Gingham, 5 by 5 inches and 3 by 3 inches; White Cotton, no. 50; Needle, No. 8, etc.


[Instructions]

Fold the larger piece of material and cut as before [Fold the larger square diagonally in half and fold again point to point. Measure down from the top of the triangle an inch on each side and cut across, making a square hole in the center representing the hold in the garment where the worn part of the goods around the hold has been cut away evenly.]. If the square is not perfectly accurate, pull a thread of the material at the sides and test the evenness of the edge. In each corner make a diagonal cut a quarter of an inch in depth. If the edges are not cut on a thread and the diagonal cuts in the corners are not the same depth, the patch will look badly.

Turn the edges down on the wrong side of the patch the depth of the cut; place the patch agaist these turned edges, basting the larger piece of goods over the patch, with the tripes or plaids matching. (Ill. No. 3.)

Hem on the right side, and avoid beginning or ending in a corner. Turn to the wrong side and hem the patch on the garment like a flat fell, turning in a quarter of an inch fold. (Ill. No. 4.) This hem or fell should be half an inch in depth.

Note:-- Care must be taken to hold the work properly in hemming the patch down on the wrong side, sewing always from right to left [left handers should work left to right], the stitches being nearly paralell with the edge of the fold and not vertical.

This patch is suitable for any cotton garment which requires laundering or for bed linen. The finished edge makes it strong, but it shows the double row of hemming.i


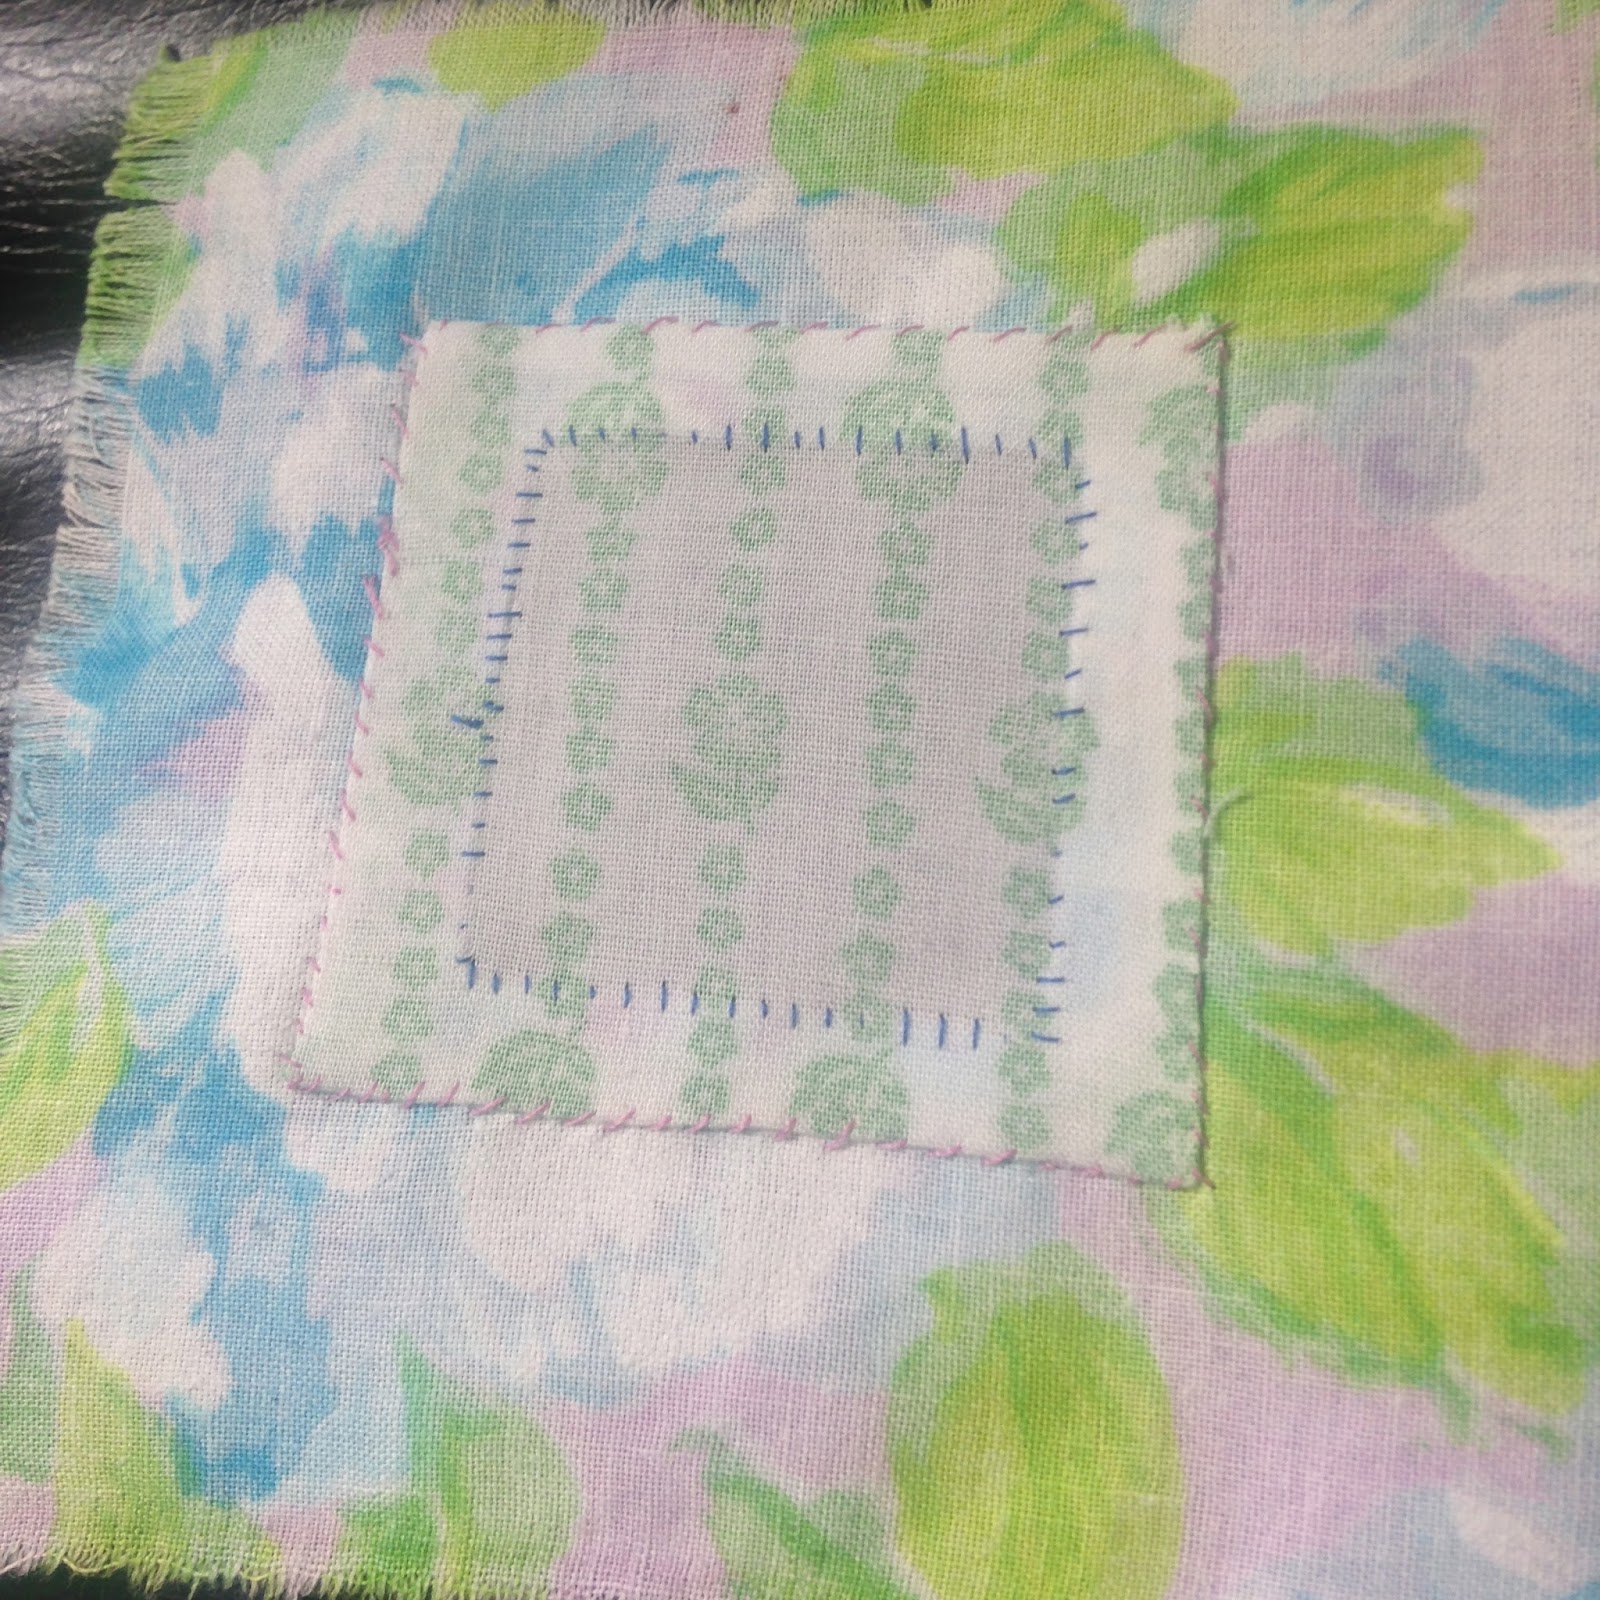
My Practice Patch

Front view

Front view close up
View from Wrong Side
View from Wrong Side Close Up
Book page with Hemmed Patch Instructions and Illustration


Work in Progress Pictures

squaring off the hole

marking corner cuts

Pressed under edges

Pressed under edges wrong side

I wanted to baste down these edges

Then you press under the edges of the patch (no need to cut off corners) and baste it down under the patch 
Stitching in progress
This shows the basting holding it together as I stitch

Comments

My main piece of advice is be careful about cutting the corners on the garment as you can see in the close up, right side that one corner looks rough. Next piece of advice: when making the hemming stitch, if the needle is at an angle the stitch will look straight vertical, the back side will show a diagonal stitch. I was doing it with the needle vertical, showing a diagonal stitch on the front and vertical on the back (you can see this in the blue thread in the center of the hole).

This is 100% my favorite patch, and I did five kinds. This patch is WASHABLE and with both edges hidden, will not fray. I recommend this patch for all items that go in the washer and dryer.


Wednesday, August 24, 2016

Mending: The Catch-Stitch Patch

Introduction

For this series I am going through an old sewing book and experimenting with the projects within it. The book is called "The Sewing Book,  Containing Complete Instructions in Sewing and Simple Garment-making for Children in Primary and Grammar Grades," Edited by Anne L. Jessup, Published by the Butterick Publishing Company, New York NY, 1913. The book is out of copyright (and free to all). It has been scanned as part of the Google Books effort and is available in various formats, visit https://books.google.com/books/about/The_Sewing_Book.html?id=b7wwAQAAMAAJ

Catch-stitched Patch

[Practice] Supplies

Flannel, either striped or plain, 5 by 5 inches, and 3 by 3 inches; Cotton, no. 60 or sewing silk the color of the flannel; Needle, No. 8, etc.

[Instructions]

This patch is suitable for underwear. Cut away the torn part, forming a square hole. Baste the patch under the hole, matching the warp and woof lines. Catch-stitch on the right side, taking the lower stitches just below the edge, the upper ones about a quarter of an inch above the edge. Turn to the wrong side and catch-stitch the patch to the garment. The edge of the patch should not extend more than three-quarters of an inch on the wrong side around the square.

Note

The single edges are used in this patch to avoid the thickness of folded edges of material of this kind. The stitches should be small and very even, one being taken diagonally in each corner.

My Practice Patch


My Comments

We may be most familiar with flannel as cotton "flannelette," in things like winter pajamas and plaid shirts. Wool flannel is still available today.  See some flannel underwear here.
When I made this sample patch, I had no wool flannel scraps. I used some cotton flannelette. Obviously the black/blue side is the right side and the white side is the wrong side. As you can see my hand stitches are uneven. For that reason I would only do this kind of patch on a solid fabric where the stitching would be less visible on the front. If your stitches are even, then that wouldn't be a problem. The front stitching (first in instructions) was easy to execute. The stitching on the back seemed just as easy but after refreshing my memory on the catch-stitch, it turns out I should have taken the lower part of the stitch through both layers of fabric. That would add some more stability. These stitches are barely visible on the front, which is nice.
I would recommend this type of patch if you know the fabric won't show (e.g. underwear is covered up), won't fray (or won't be washed or hard-worn), if it is dyed through (not a print like the flannelette I used as the white shows in little bits on the front), and if the fabric is too thick or uncooperative for other types of patches.
This patch is designed for be made with hand stitching (but it's only one kind of stitch, which is nice and easy). To machine stitch this patch perhaps a zig-zag or better yet three-step zig-zag would work. However these stitches will show more, by which I mean the second line of stitching that is worked from the wrong side will be just as visible on the front as the first right-side stitches. Other patches are better suited to machine stitching.

The Catch-Stitch

Because I'm so nice, I'm also providing the catch-stitch instructions from the book with added left handed instructions because duh.

Monday, June 20, 2016

Quick Hit: Basting Stage of my Diagonal Stripe Dress

The pattern is Simplicity 1586. It is a basic princess-seamed sheath. I did do a muslin (and did, oh, six fittings?).

Look at that striiiiipe

Sunday, June 19, 2016

Quick hit: dress in progress

Could not resist this pixelated ombré diagonal stripe (!!) printed polyester "stretch chiffon". Am making a princess dress. Why? For bike rides.


Wednesday, May 18, 2016

Little Grey Job Interview Dress: Simplicity 1277

dress front
 
back view
side view
I don't have it in me to do another write up of this project, but here is what I posted on PatternReview.

Pattern Description:
Simplicity amazing fit dress pattern for miss & plus sizes features bust darts & contrast side panels. individual patterns included for slim, average and curvy fit & cup sizes b, c, d for miss & c, d, dd for plus.

Pattern Sizing:
I got the plus envelope.

Did it look like the photo/drawing on the pattern envelope once you were done sewing with it?
More or less considering my struggles with all my fit issues.

Were the instructions easy to follow?
Pretty much yes.

What did you particularly like or dislike about the pattern?
I liked the styling lines, which is why I bought it. Nothing in particular I disliked because I think all my fit adjustments would have been needed on any dress pattern. The "amazing fit" process with cup size bodice pieces and hip size skirt pieces did simplify things a bit.

Fabric Used:
A mystery knit, I want to say some kind of jersey, cotton or rayon or a blend of them. I bought it at the thrift store years ago, which is why I didn't do a two-tone dress.

Pattern alterations or any design changes you made:

Fit adjustments

Widen skirt at hip through hem by adding width and waist dart front and back (back already had 2 darts I made one bigger, front had zero, added one)
Lots of pooling in small of back, also gapping at back neckline so took in entire center back seam for 1" reduction
Took up hem about 2"
Took in shoulder line inner and outer, neckline now looks like boat neck, also offset the straps to modify gapping at front neck
Took in excess gapping at armhole front and back by moving inset seams toward bodice
Style and construction adjustments
Didn't use contrast panels
Used a knit rather than recommended woven
Using a stretchy knit meant I could remove the zipper altogether
Using a knit and the zillion armscye modifications meant the facings weren't worth it, so I used a bias facing technique.
I used a bit of ribbon and a plain straight stitch to stabilize the shoulder seams.
Also added lingerie keeper straps after these photos were taken!

Would you sew it again? Would you recommend it to others?
Now that I've made all these changes, I would 100% make this again (with more fit adjustments like to neckline width front, neckline gaping in the back, raise the armhole depth, lower the bust point, and preferably eliminate the front skirt darts I added. I do want a slip, though, because knits cling against tights, for sure.

Conclusion:
Pattern review agrees, this dress is worth it!

dress with leather jacket

Saturday, December 13, 2014

More Baby Clothes

Hoodie

Just did the onesie on the left

Tuesday, March 18, 2014

Blue Silk Blouse

Windy day
Lovely Blue Silk. I love natural fibers!
I wear a lot of separates, so for my latest project I decided to make a blouse. I recently finished the skirt in Simplicity 3688 and a while back I did the pants. Obviously I was happy with the 1940s style, so I decided to go ahead and do the blouse.
When I saw this blue silk at the fabric store, I was blown away by the vivid blue color. The blue did lose a bit of punch after I washed it, but I didn't let that stop me from forging ahead. This is a lining silk, so crinkles quite a bit, like parachute jumpsuits of way back when.
I did make a few adjustments to this pattern. I changed the neckline to be faced, added shaping to the back, took in the shoulder point a little, redrew the sleeve to be larger, took up the hem, and took up the sleeve for lack of fabric.
Now that I see the pictures of it on, I know I still need to work on some fit concerns. I will definitely make this blouse again. It's much easier to perfect the fit when reusing a pattern. Furthermore, this pattern is great for plain colors, which I wear often.
I took these pictures around Chico. The earrings, bracelet and broach (on chain) are Swarovski, and the jeans are NYDJ. The plain neck of this blouse is great for jewelry, no? 


Sleeves are just below elbow length


I added shaping to the back

Friday, December 13, 2013

Simplicity 1947 Suedesays Men's Corduroy Jacket

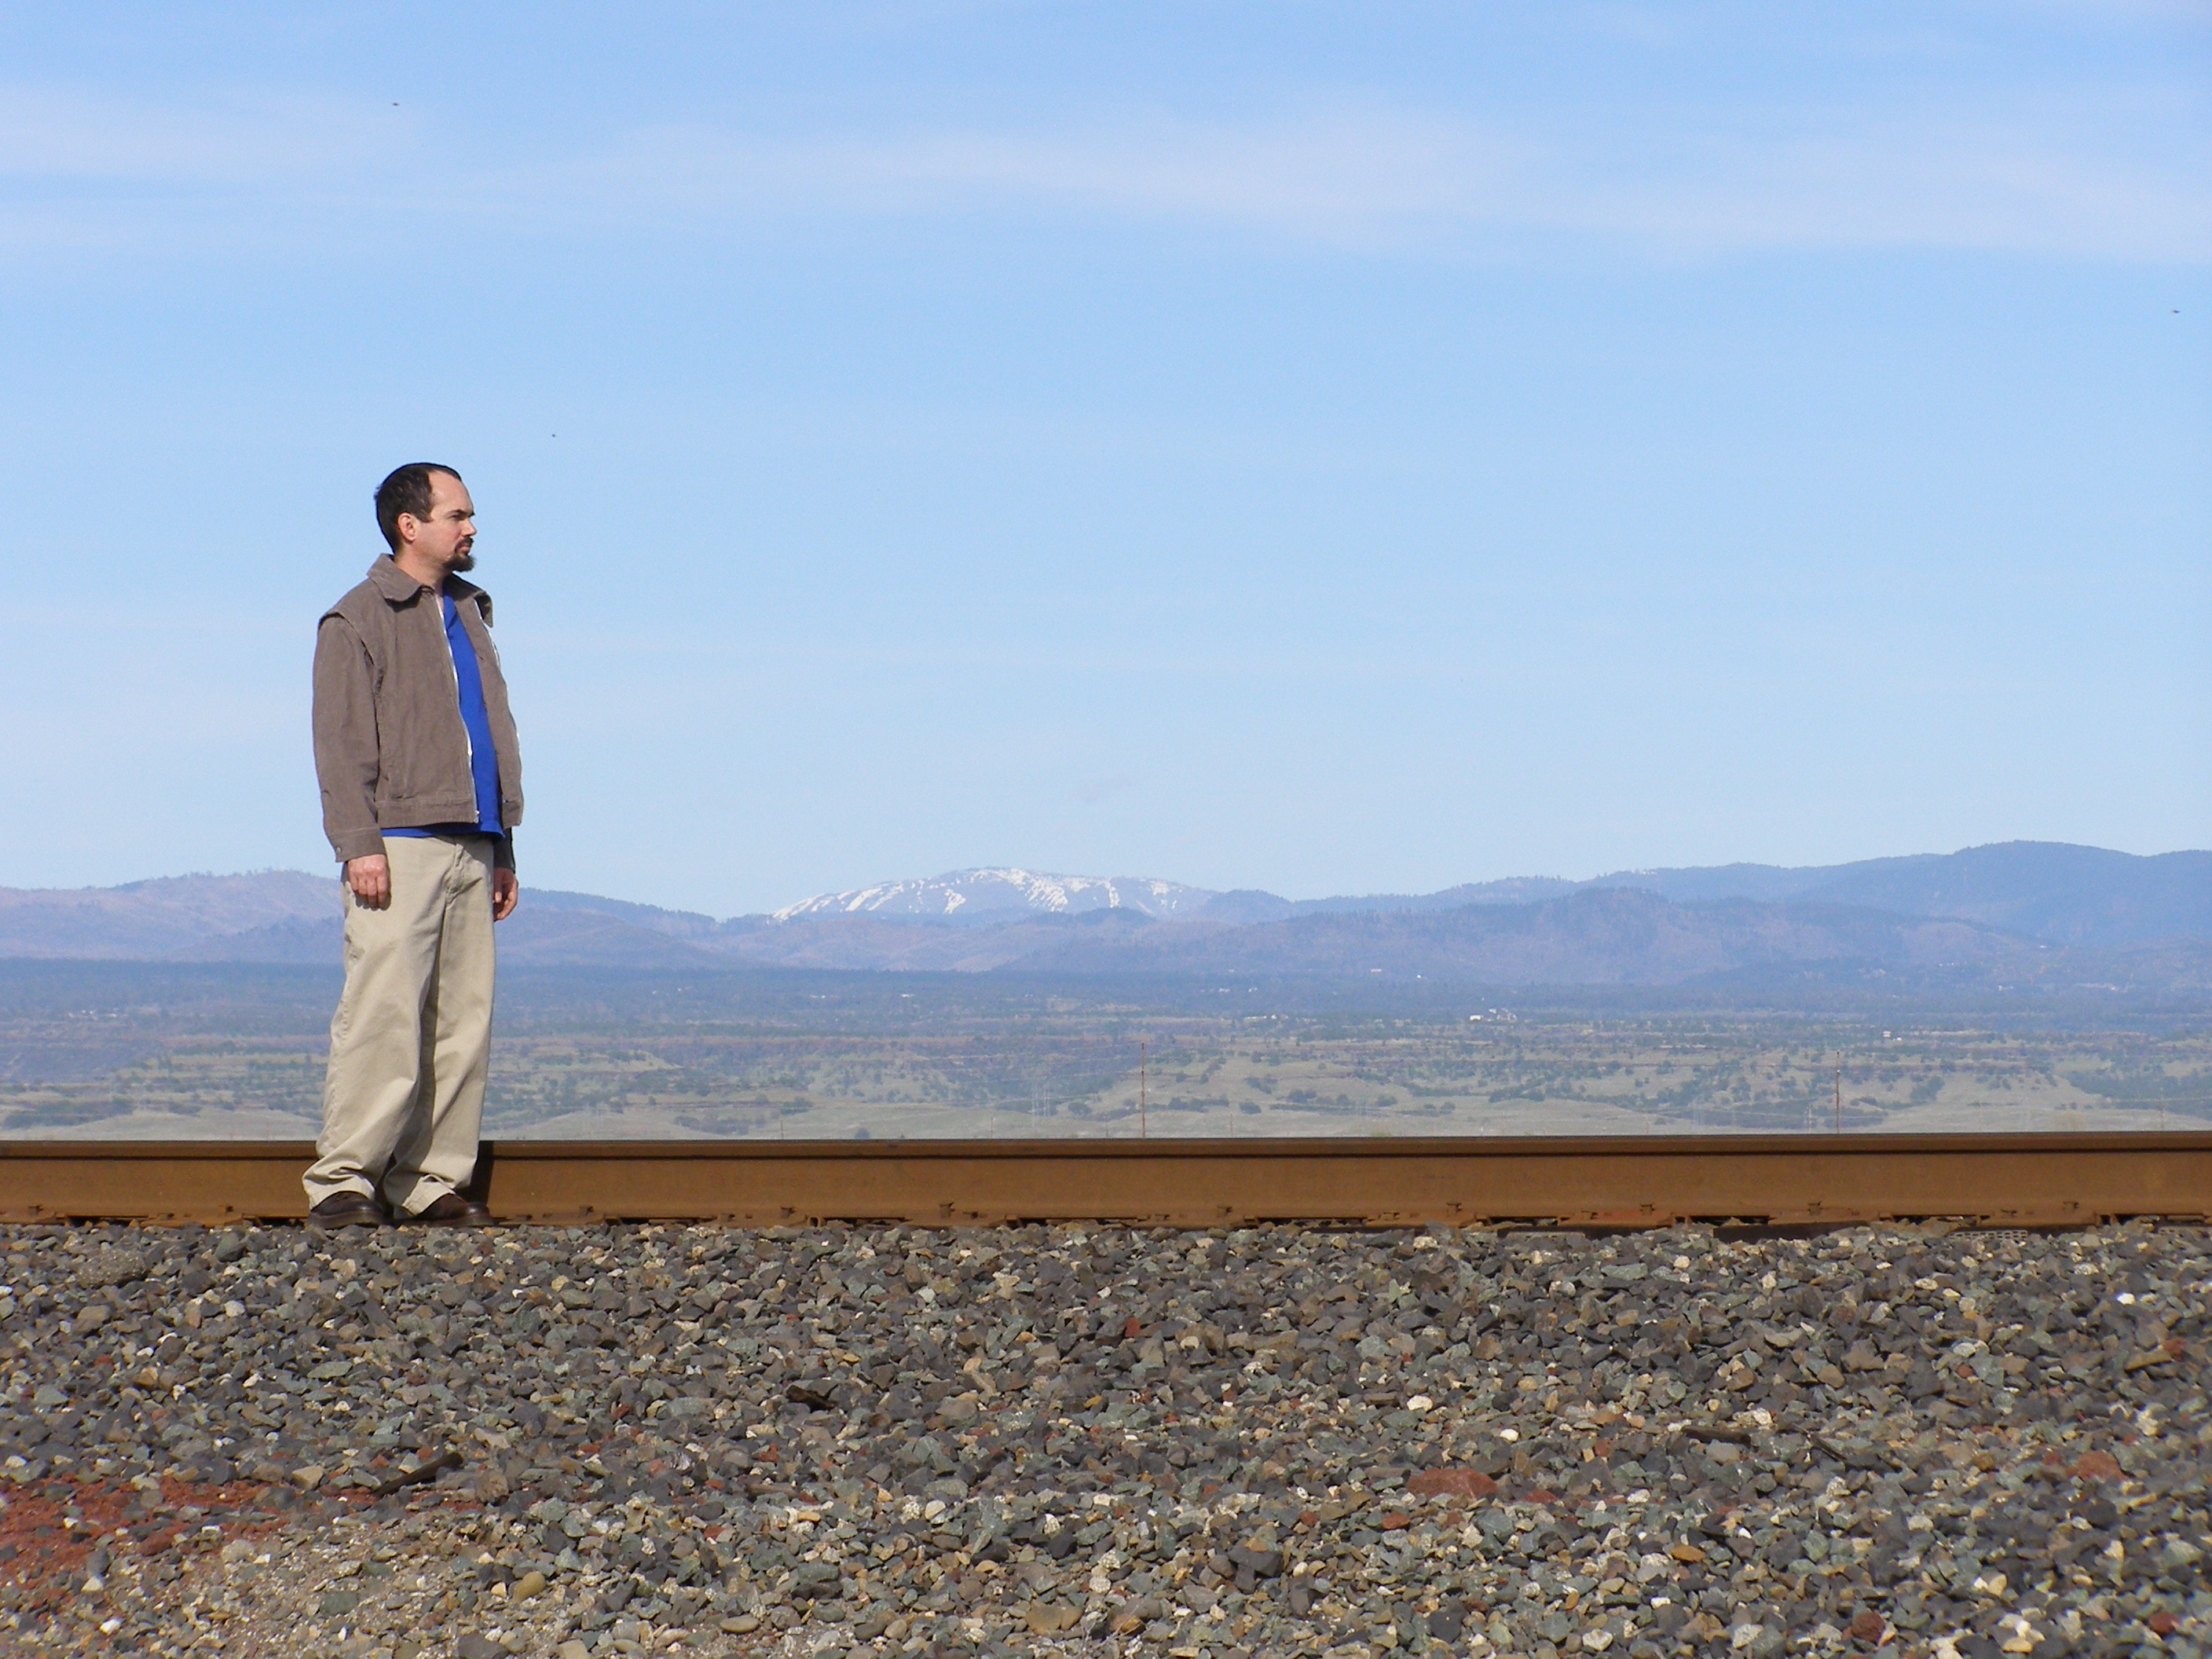
View of Cascade range as seen from tracks in Durham, CA

It was in summer when I got the pattern and fabric for Simplicity 1947, a men's casual jacket with a bit of a 50s edge. I am making this for my partner Mike. Upon consult we are omitting the horizontal topstitching details, the waist tabs, and the hood. I have chosen a grey corduroy for the jacket and a checkered shirting in white and blue for the pockets; I will also use it for bias binding the seam edges.
I fabricated this garment in November. It took about one week for preliminaries (layout, cutting, marking), two weeks for construction (stitching and seam finishing), and about one more week for finishing (final topstitching, hand stitching).
There was a rough patch where the sleeves were too long. I cut them off, shortened the sleeve, and applied new cuffs (yes both of them ugh).
Waiting until a garment is complete to check the fit often results in extra work, especially if you have to rip out finished seams to correct the fit. It's very important to try on your garment at certain points during construction to check the fit and refine it. Pin-fitting along the way is easy to do and can save a lot of time in the end. -Mary Ray, Threads Magazine  "10 Better Sewing Habits" 
 Lesson Learned.
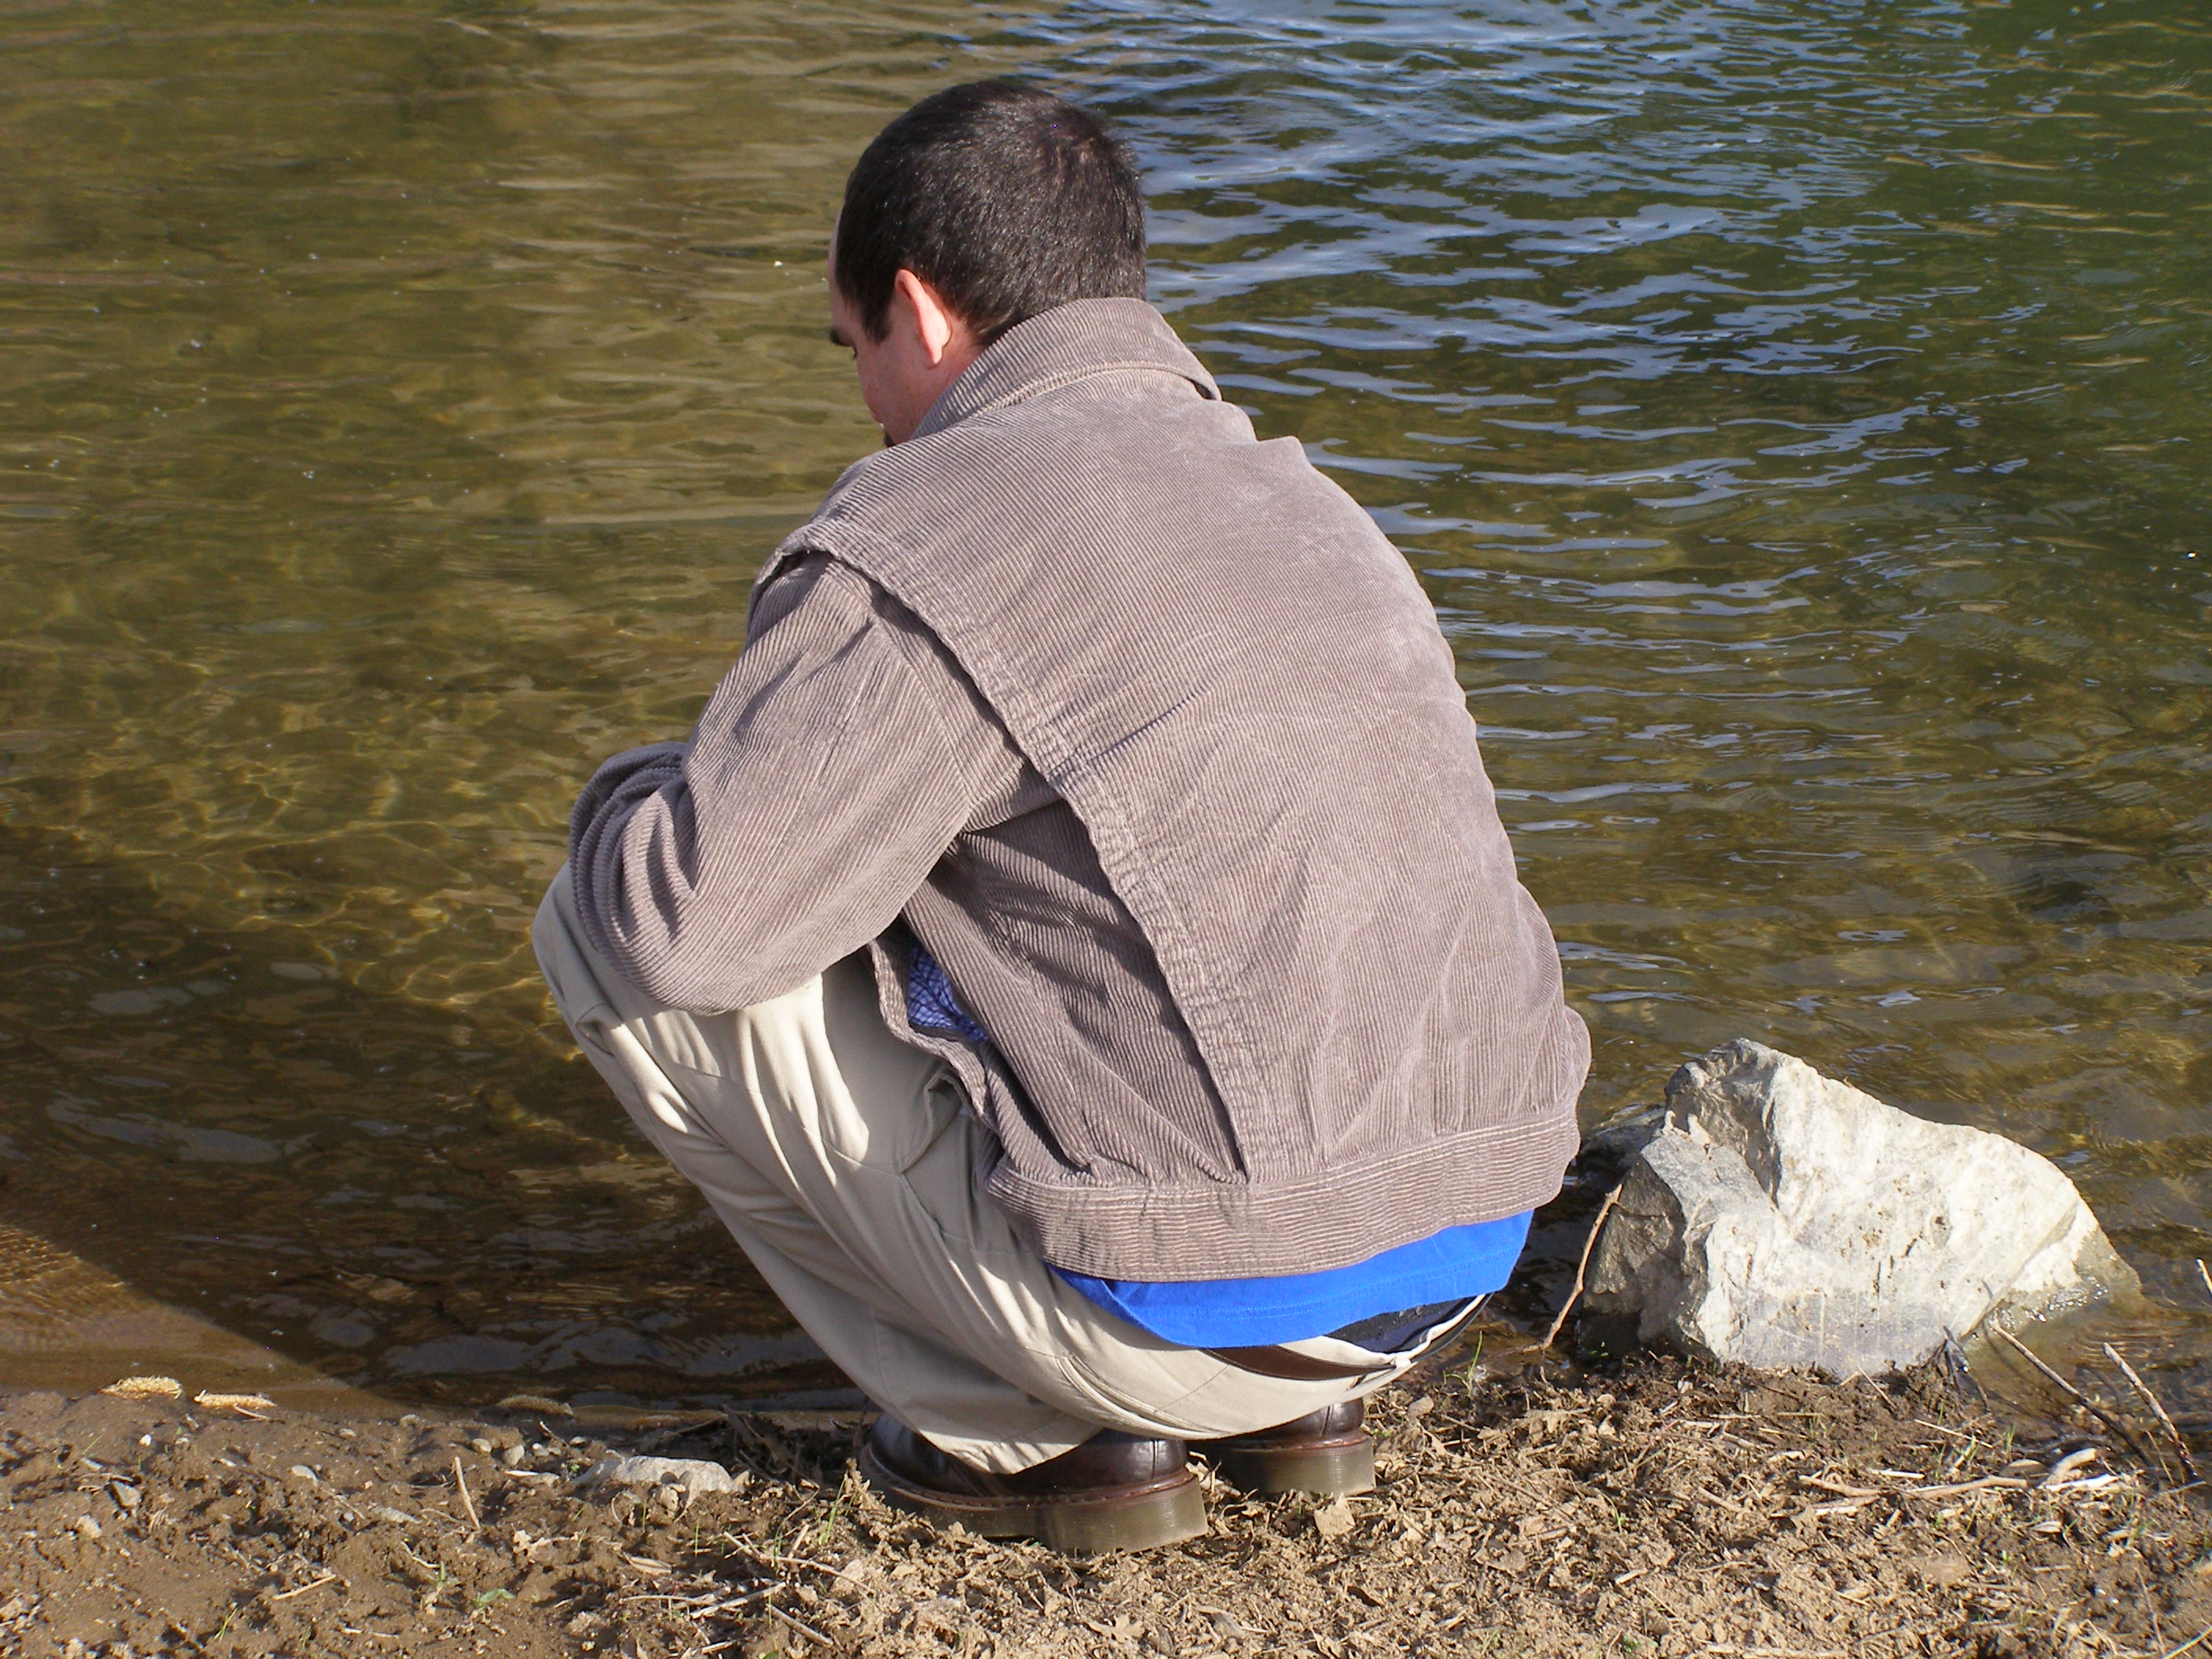
The day Mike opened up his holiday gift he wore it. The fit is good. I am happy with the hand of the cloth. Time will tell whether the seam finishes hold up in the wash.


My Review on PatternReview
This project took me the most amount of time of any garment so far. Overall I like the pattern, the fit is good, the styling is neat.
I made this as a holiday gift for my partner Mike. I made him a size L; he's a 40R. I made this using cotton corduroy; for the pockets and seam finishes I used cotton shirting. I used a denim needle. For hand stitching, I used a thimble.
For this jacket we chose to do view B and omit the horizontal topstitching, the tabs at the waist, and the hood.
The first regret is using corduroy and cutting it with shears. There's a lot of cutting and corduroy is TOUGH like denim. I complained so much afterwards about my hand and forearm that Mike bought me a rotary cutter and mat for the holidays. If you have to use shears on bottom-weight corduroy then DEFINITELY do your cutting over a couple of days.
The second regret is my choice of seam finish. I honestly think I did it wrong, for starters - I applied bias strips it like binding on a neck edge, rather than a 'hong-kong finish' where the back side is ironed out so it catches much more easily. OOPS. After the garment was washed I went back and restitched the bias strips by hand for maybe an hour.
My third regret is not checking the sleeve length. The jacket hangs off the shoulders in an unusual way, so I didn't thinking testing the sleeve against an existing garment would work. There's a lot of pattern pieces, so there was no way I'd make a muslin/test garment. I just dove right in and never made Mike do a test fit... until the cuffs were on AND topstitched. The sleeves were two or three inches too long: OOPS. I chopped them off, shortened the sleeves and took them in, and made new cuffs. It looks OK now. This particular error is also my own fault.
My fourth and final regret is the sloppy job of easing the lower edge to the waistband. It's not something other people would notice (I hope!) but once it was all pressed and I looked at it, I saw my error. This was the last step and by this point I was just over it, so the uneven easing stays.
The other parts of the jacket I had trouble with include getting the points on the collar and collar band to match (this may be the fault of the corduroy being such a wide wale). I had some trouble with getting even topstitches, but there's SO MUCH that by the end I was more comfortable. I also had trouble visualizing the construction steps of the flange - I ended up doing seam finishes on parts that were completely enclosed.
In the end, I think it's a nifty-looking garment and I wish I got to see it on Mike more.
I like the look of the corduroy and the construction details: the topstitching (I used the heavy buttonhole thread), hand buttonholes, even the flashy check lining fabric. I love the flange design and the exposed zipper with the big collar.
I didn't have any more trouble than usual with the instructions - I grade them a B. I look forward to doing the matching SuedeSays trousers.

Party Dress Butterick 5761: In Action

My sister's wedding was a smashing success. Here are some photos of my party dress on the big day.
Bridal party of  GLAMOUR

Serious face in the ceremony

My family
Phase II: comfortable ugly shoes

Thursday, June 27, 2013

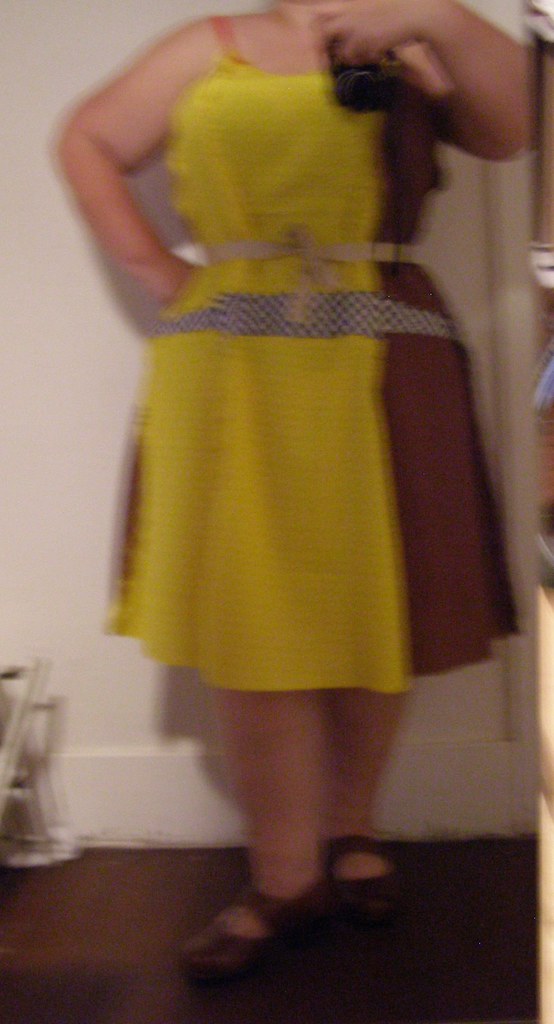
Party Dress - Final Pin Fitting

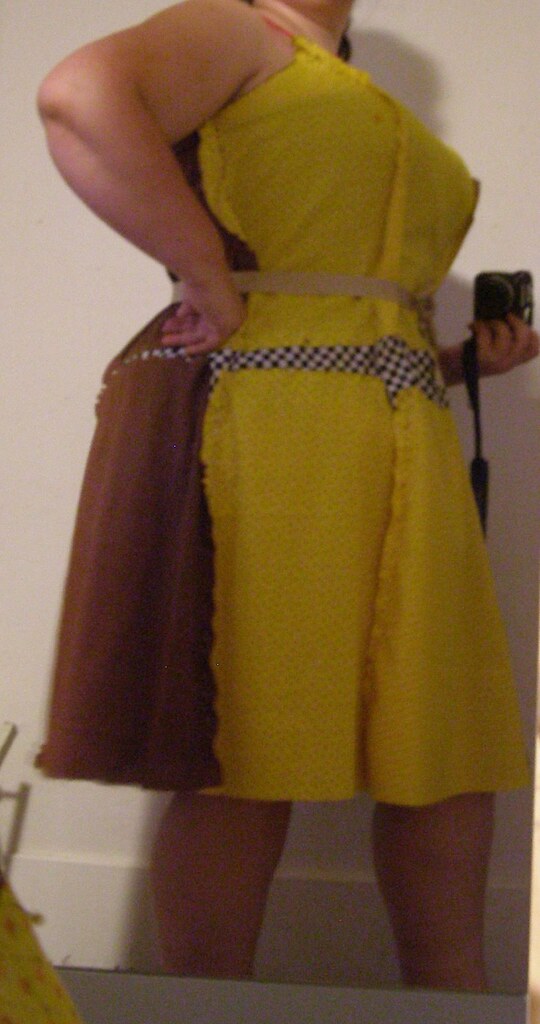
final fit
Finally I have bitten the bullet and completed the pin fitting on the party dress. I hesitated for fear of doing it wrong... but decided enough was enough and just did it.
First I marked all the take-ins, then I took out all the pins and laid the pieces out flat. Then, I could measure the total amount I took the dress in. There was a lot of variation - with much more taken in at the front. Having decided this looked weird, I divided the total amount reduced by the number of edges - giving me 36mm.
waist and hem level

The other modification I made at this time was lowering the neckline - by literally just cutting it down. I did this on the front center piece, lowering 3/4", and the side fronts (including arm hole) tapering to nothing at the side seam.
Then I repinned everything back together with an even reduction at the waist of 36mm per edge.
Next was a fitting. Having decided the waist was adequate I was disappointed that the repinning didn't eliminate another problem I was having - the front hem riding about 2.5" higher than the rear.
The solution was lengthening the dress at the lower "raise or lower here" marking - which I had forgotten to mark on most of the pieces. Poo!
So I marked each piece, unpinned from the hem to about there, cut across the line, pinned in a scrap of fabric, and finally re-pinned all the lower skirt edges. I lowered the front 2.5", tapering to 1" at the side seam and to nothing at the rear princess seams. I used checkered fabric which was really quite helpful in terms of measurements.
Five checkered extensions were added: one center front, one each side front, and one each side back. You can see them in the pictures.
with shoes
Final fitting... on the corset goes again. I was satisfied with the hang of the lower hem now!
I am satisfied with all of the fitting (sleeves not included... don't know what I'm going to do about those still) and am ready to move on to the next step - finalizing the muslin pattern pieces for cutting.
I have made all of my fabric purchases now - rayon lining from onlinefabricstore.net, and silk crepe de chine for the underlining from dharmatrading.com... where I also picked up some silk charmeuse.
The crepe de chine has great drape and all - but does nothing for the opacity of the dress. But it turns out that the sorta-impulse purchase of charmeuse has perfect opacity to conceal the corset. I was only going to make little drawers but now a corset cover (in this case a little camisole) is in the cards (if I have time).

love that level hem
P.S. sorry for the blurry mirror photos. They may be awful, but they help a lot with fitting!

Tuesday, June 25, 2013

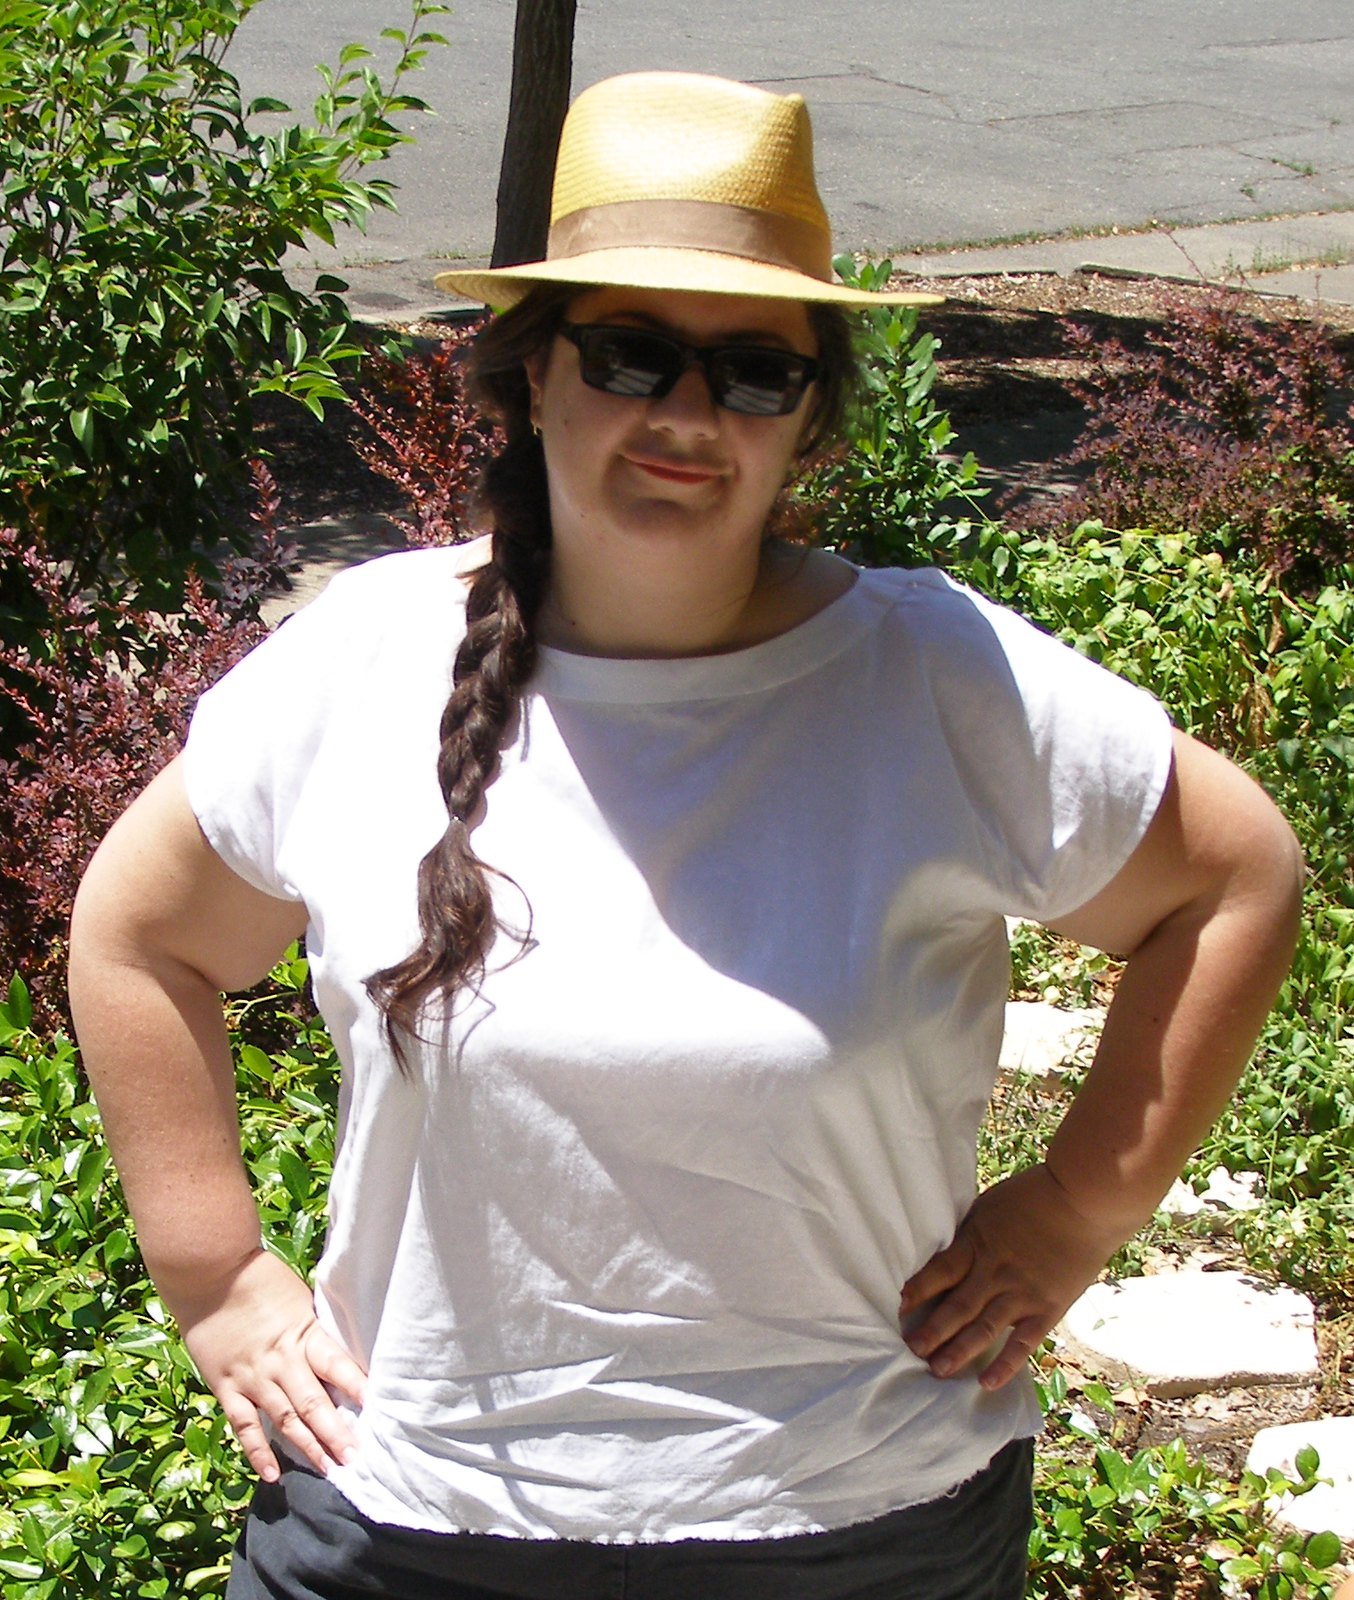
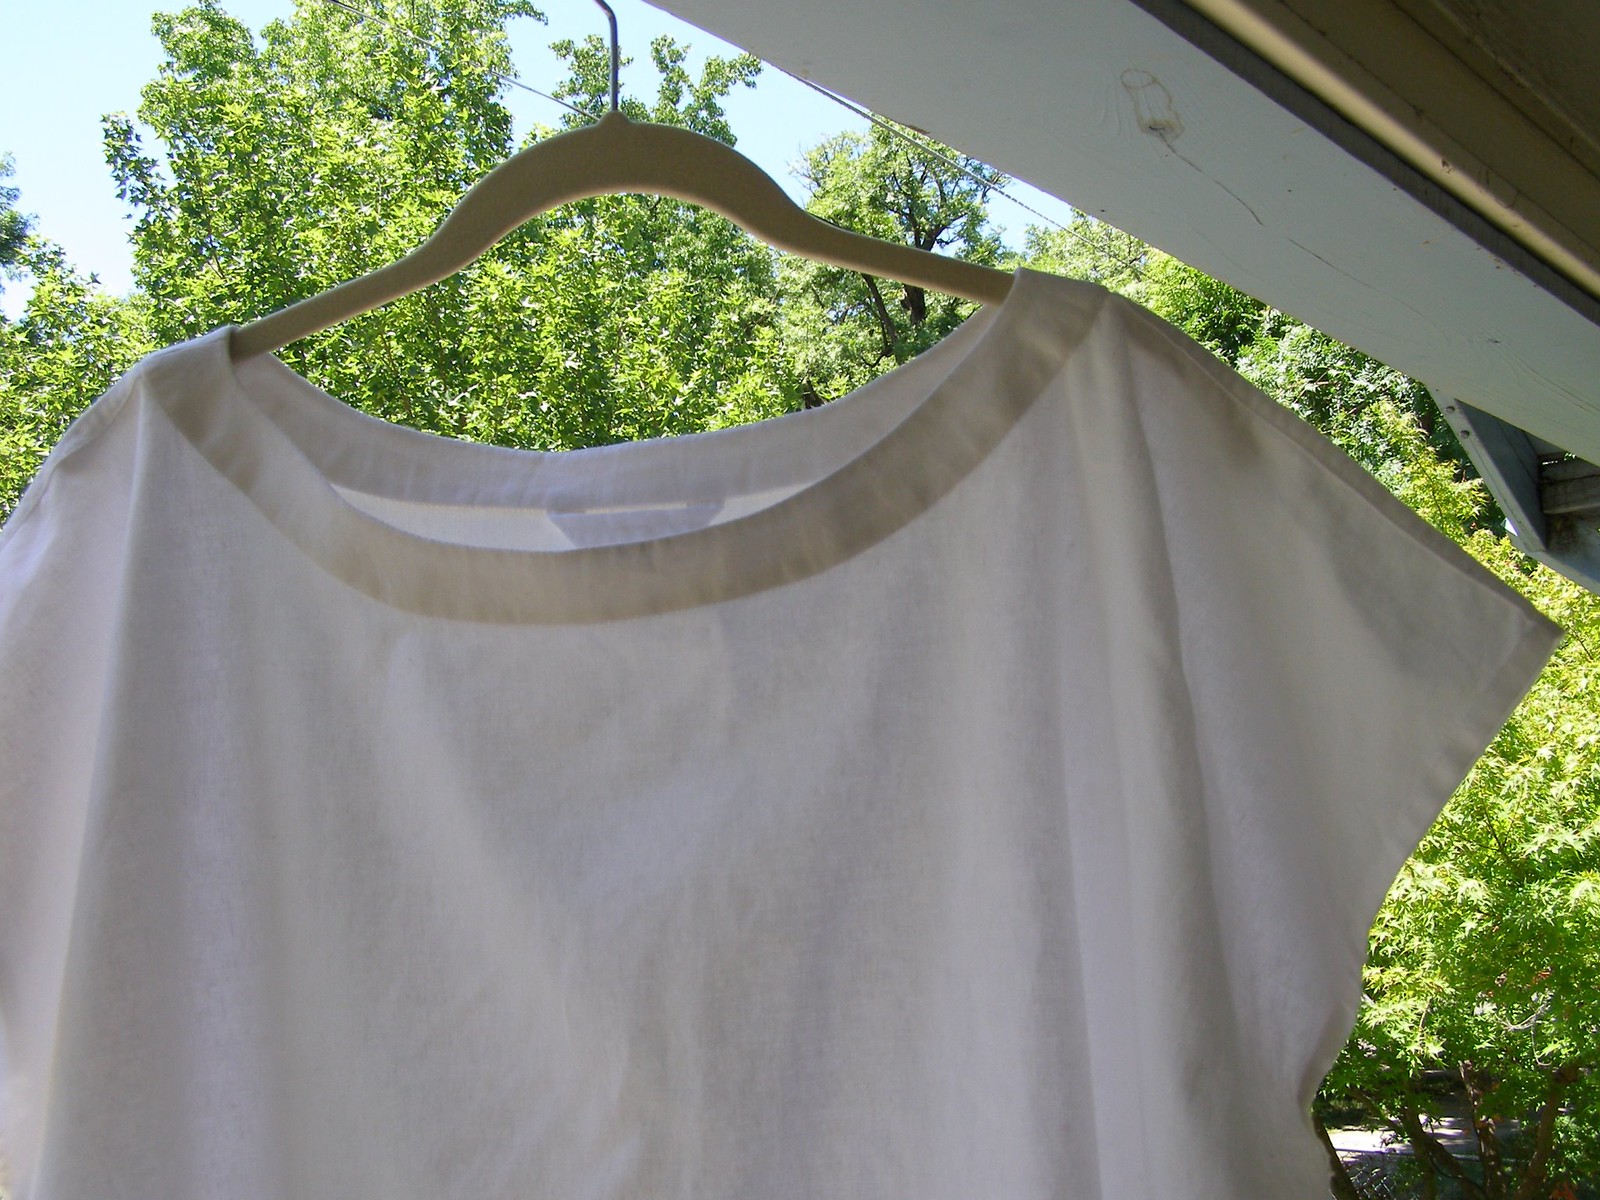
Self-Drafted Summer Top in White Linen


We had a pretty evil heat wave a few weeks ago - a record breaking 110. Hot weather always makes me want to reach for natural fiber garments... and with the sweat situation, preferably not knits! Linens are completely made for hot weather, no? I picked up this linen cotton blend in a practical bleachable white during a recent sale.
Then, I challenged myself to make a top with only one yard. And draft it myself.

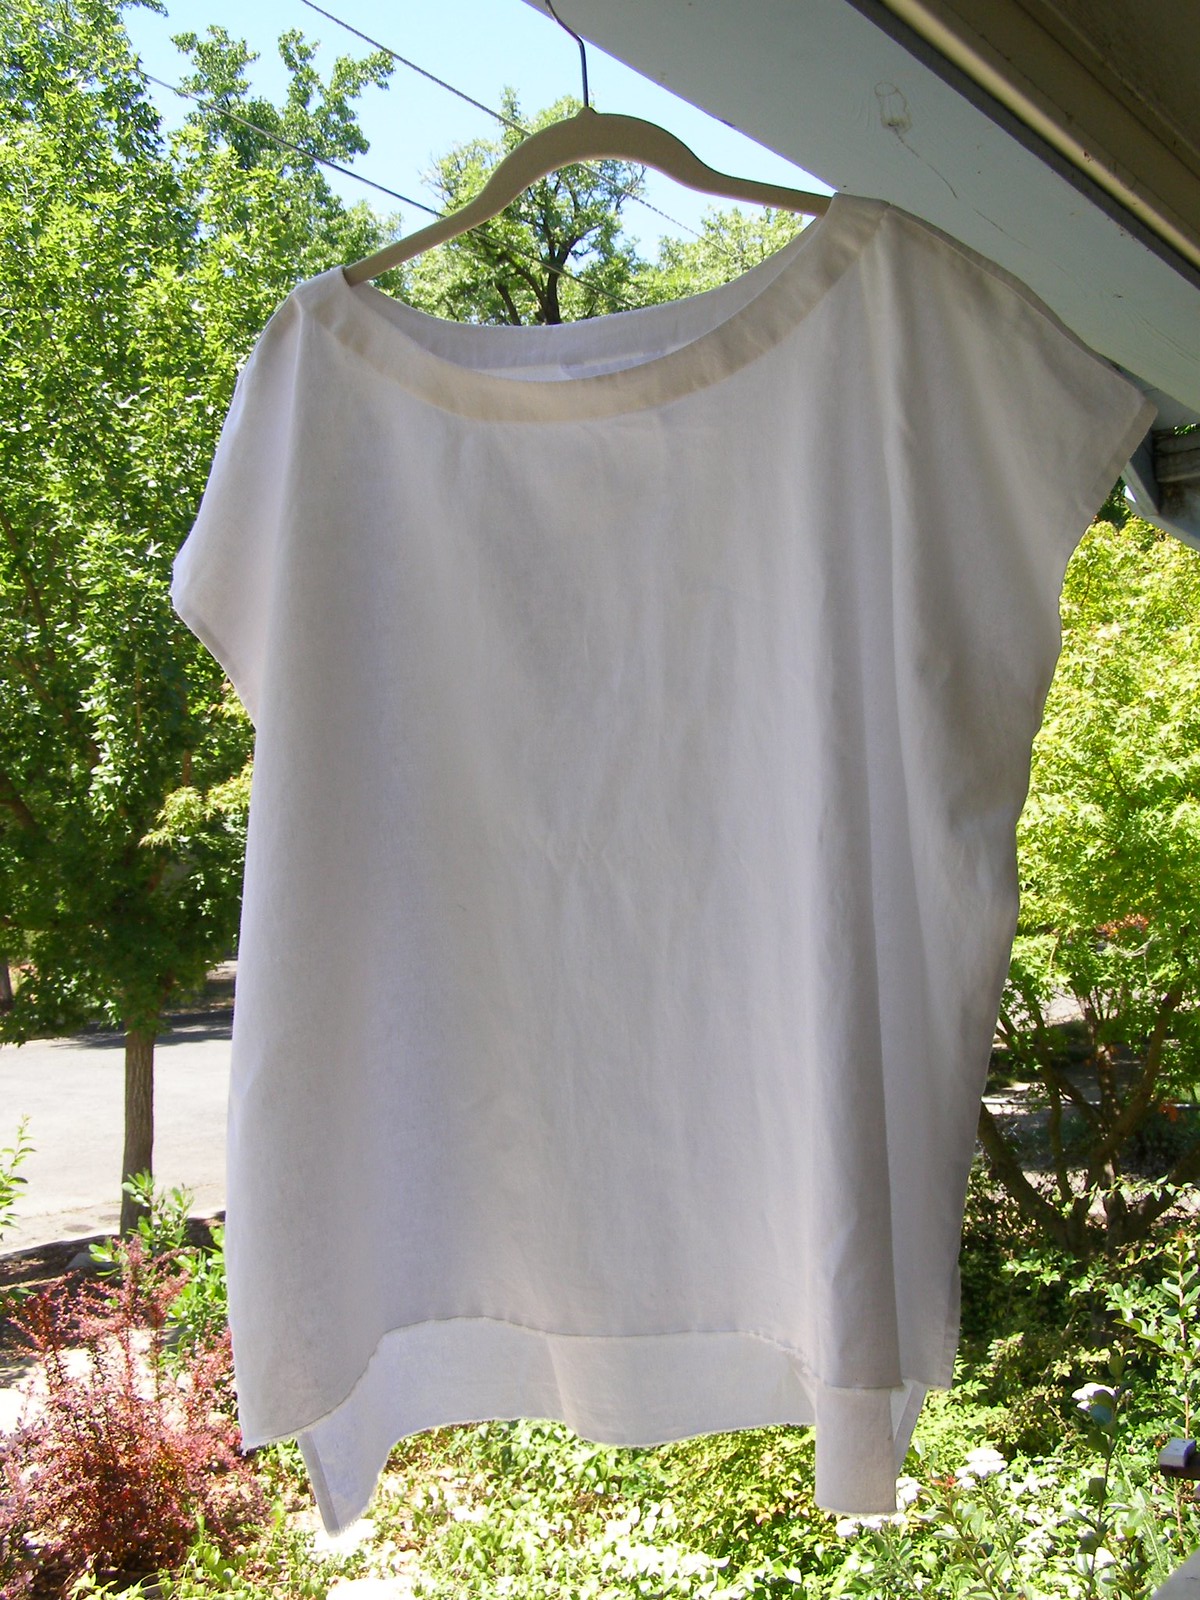
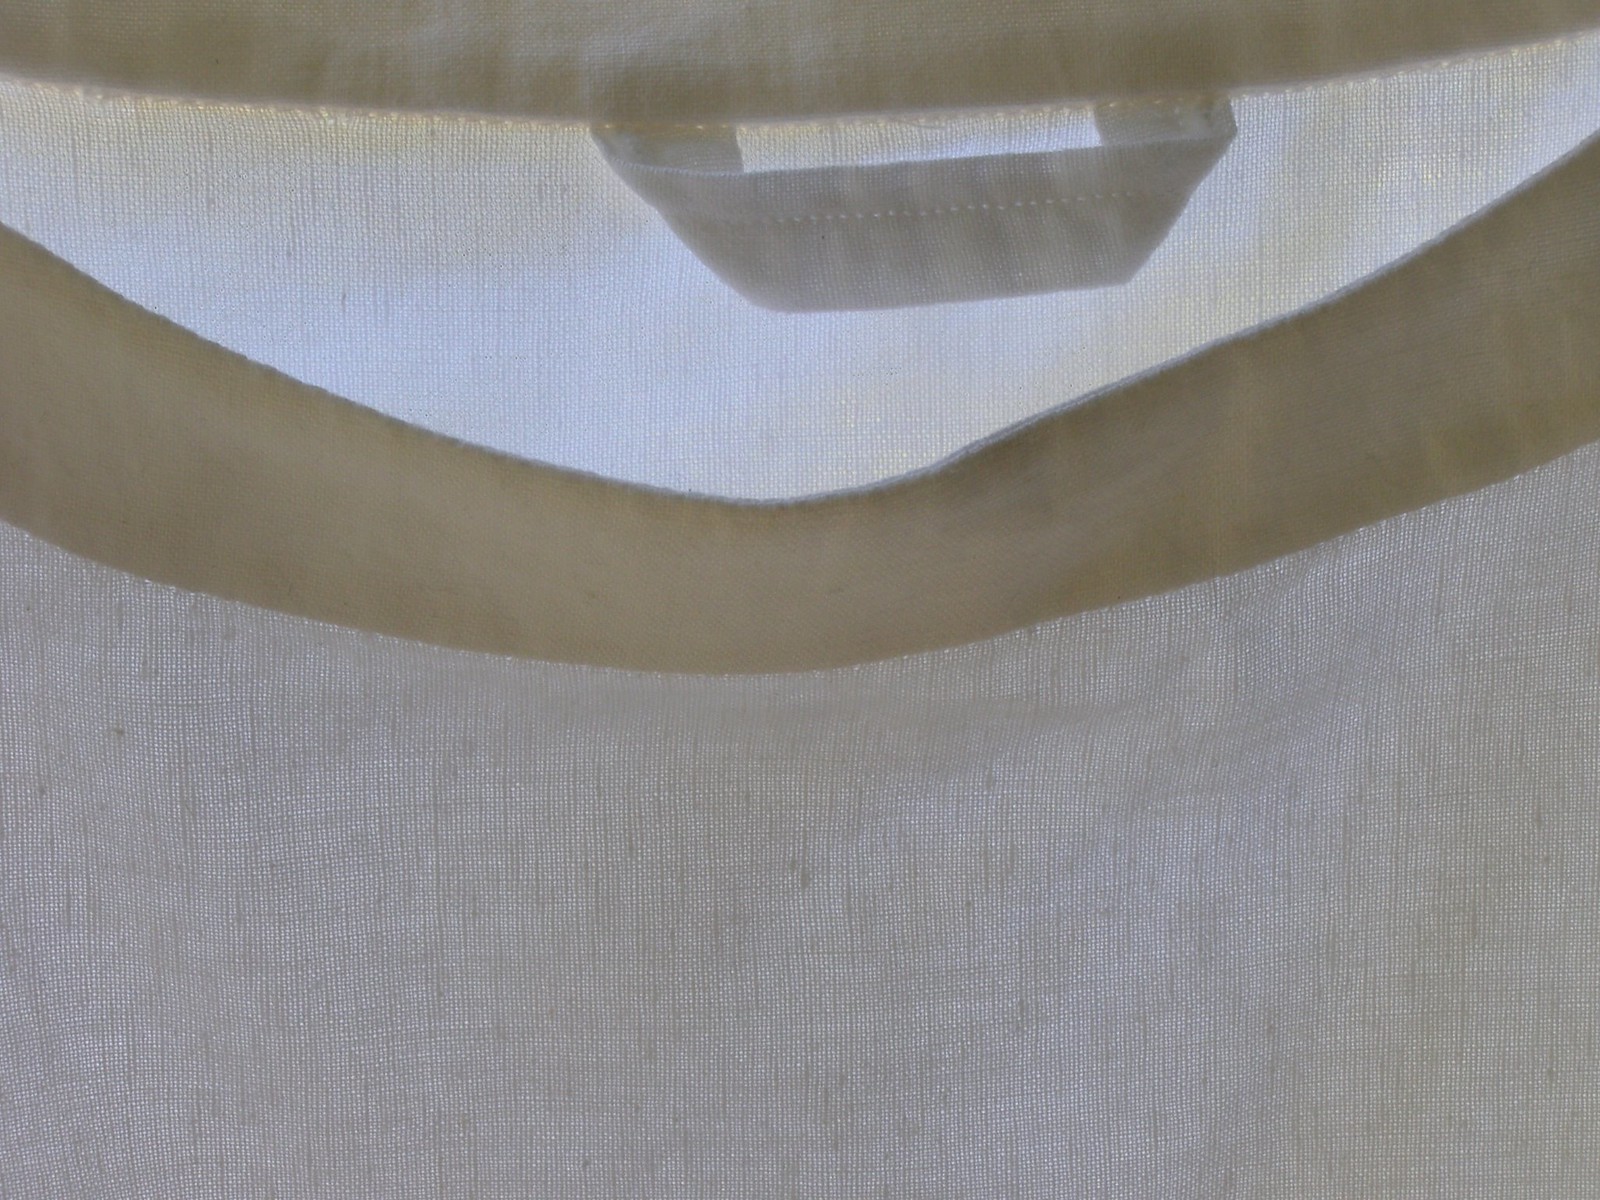
Using Eileen Fisher as an inspiration, I made up this boxy number with kimono sleeves, longer back, and a faced neckline with a broad shape.


I used the back neck piece from a previous make and sort of riffed from there. I made it about an inch wide and only dropped the front about an inch lower (not really low enough). All the other seams were straight lines, so it was dead easy to draft and fairly simple to construct other than the neckline.


I gave the shoulder a flat felled seam and just turned the seam allowance for the arm opening - the same idea as the side vent.

The lower edge of the garment is selvage (after a few times in the wash it did need some stitching but the edge is still raw).
In fact if you visualize that the lower hem is selvedge, you can see how I drafted it out of a yard. Shoulder to shoulder was 30" and the last six was used for the neck pieces. Fabric was 58" so neck area of front and back pieces meet in the middle during layout. It may break some grain rules but it's not really something that matters on a summer top in a solid colored plain weave.
If you have never worked with linen before I do recommend a cotton linen blend. Linens can be a really loose weave (in mid and bottomweights) but the cotton just brings it all together for a great everyday look and feel. So not only can you bleach it, you can steam iron the hell out of it and use copious amounts of starch. An excellent excuse to practice your precision ironing with various seam finishes and construction techniques. It's even easy to hand finish.
I do wear this shirt. It is not exactly the best shape for me in the rear but it's nothing a few contour darts can't solve. Something to try next time!