 |
| THE HEMMED PATCH Right handers should sew right to left (as shown) and Lefties, left to right. |
Introduction
For this series I am going through an old sewing book and experimenting with the projects within it. The book is called "
The Sewing Book, Containing Complete Instructions in Sewing and Simple Garment-making for Children in Primary and Grammar Grades," Edited by Anne L. Jessup, Published by the Butterick Publishing Company, New York NY, 1913. The book is out of copyright (and free to all). It has been scanned as part of the Google Books effort and is available in various formats, visit
https://books.google.com/books/about/The_Sewing_Book.html?id=b7wwAQAAMAAJ
Hemmed Patch
[Practice] Supplies
Checked or Striped Gingham, 5 by 5 inches and 3 by 3 inches; White Cotton, no. 50; Needle, No. 8, etc.
[Instructions]
Fold the larger piece of material and cut as before [Fold the larger square diagonally in half and fold again point to point. Measure down from the top of the triangle an inch on each side and cut across, making a square hole in the center representing the hold in the garment where the worn part of the goods around the hold has been cut away evenly.]. If the square is not perfectly accurate, pull a thread of the material at the sides and test the evenness of the edge. In each corner make a diagonal cut a quarter of an inch in depth. If the edges are not cut on a thread and the diagonal cuts in the corners are not the same depth, the patch will look badly.
Turn the edges down on the wrong side of the patch the depth of the cut; place the patch agaist these turned edges, basting the larger piece of goods over the patch, with the tripes or plaids matching. (Ill. No. 3.)
Hem on the right side, and avoid beginning or ending in a corner. Turn to the wrong side and hem the patch on the garment like a flat fell, turning in a quarter of an inch fold. (Ill. No. 4.) This hem or fell should be half an inch in depth.
Note:-- Care must be taken to hold the work properly in hemming the patch down on the wrong side, sewing always from right to left [left handers should work left to right], the stitches being nearly paralell with the edge of the fold and not vertical.
This patch is suitable for any cotton garment which requires laundering or for bed linen. The finished edge makes it strong, but it shows the double row of hemming.i
My Practice Patch
 |
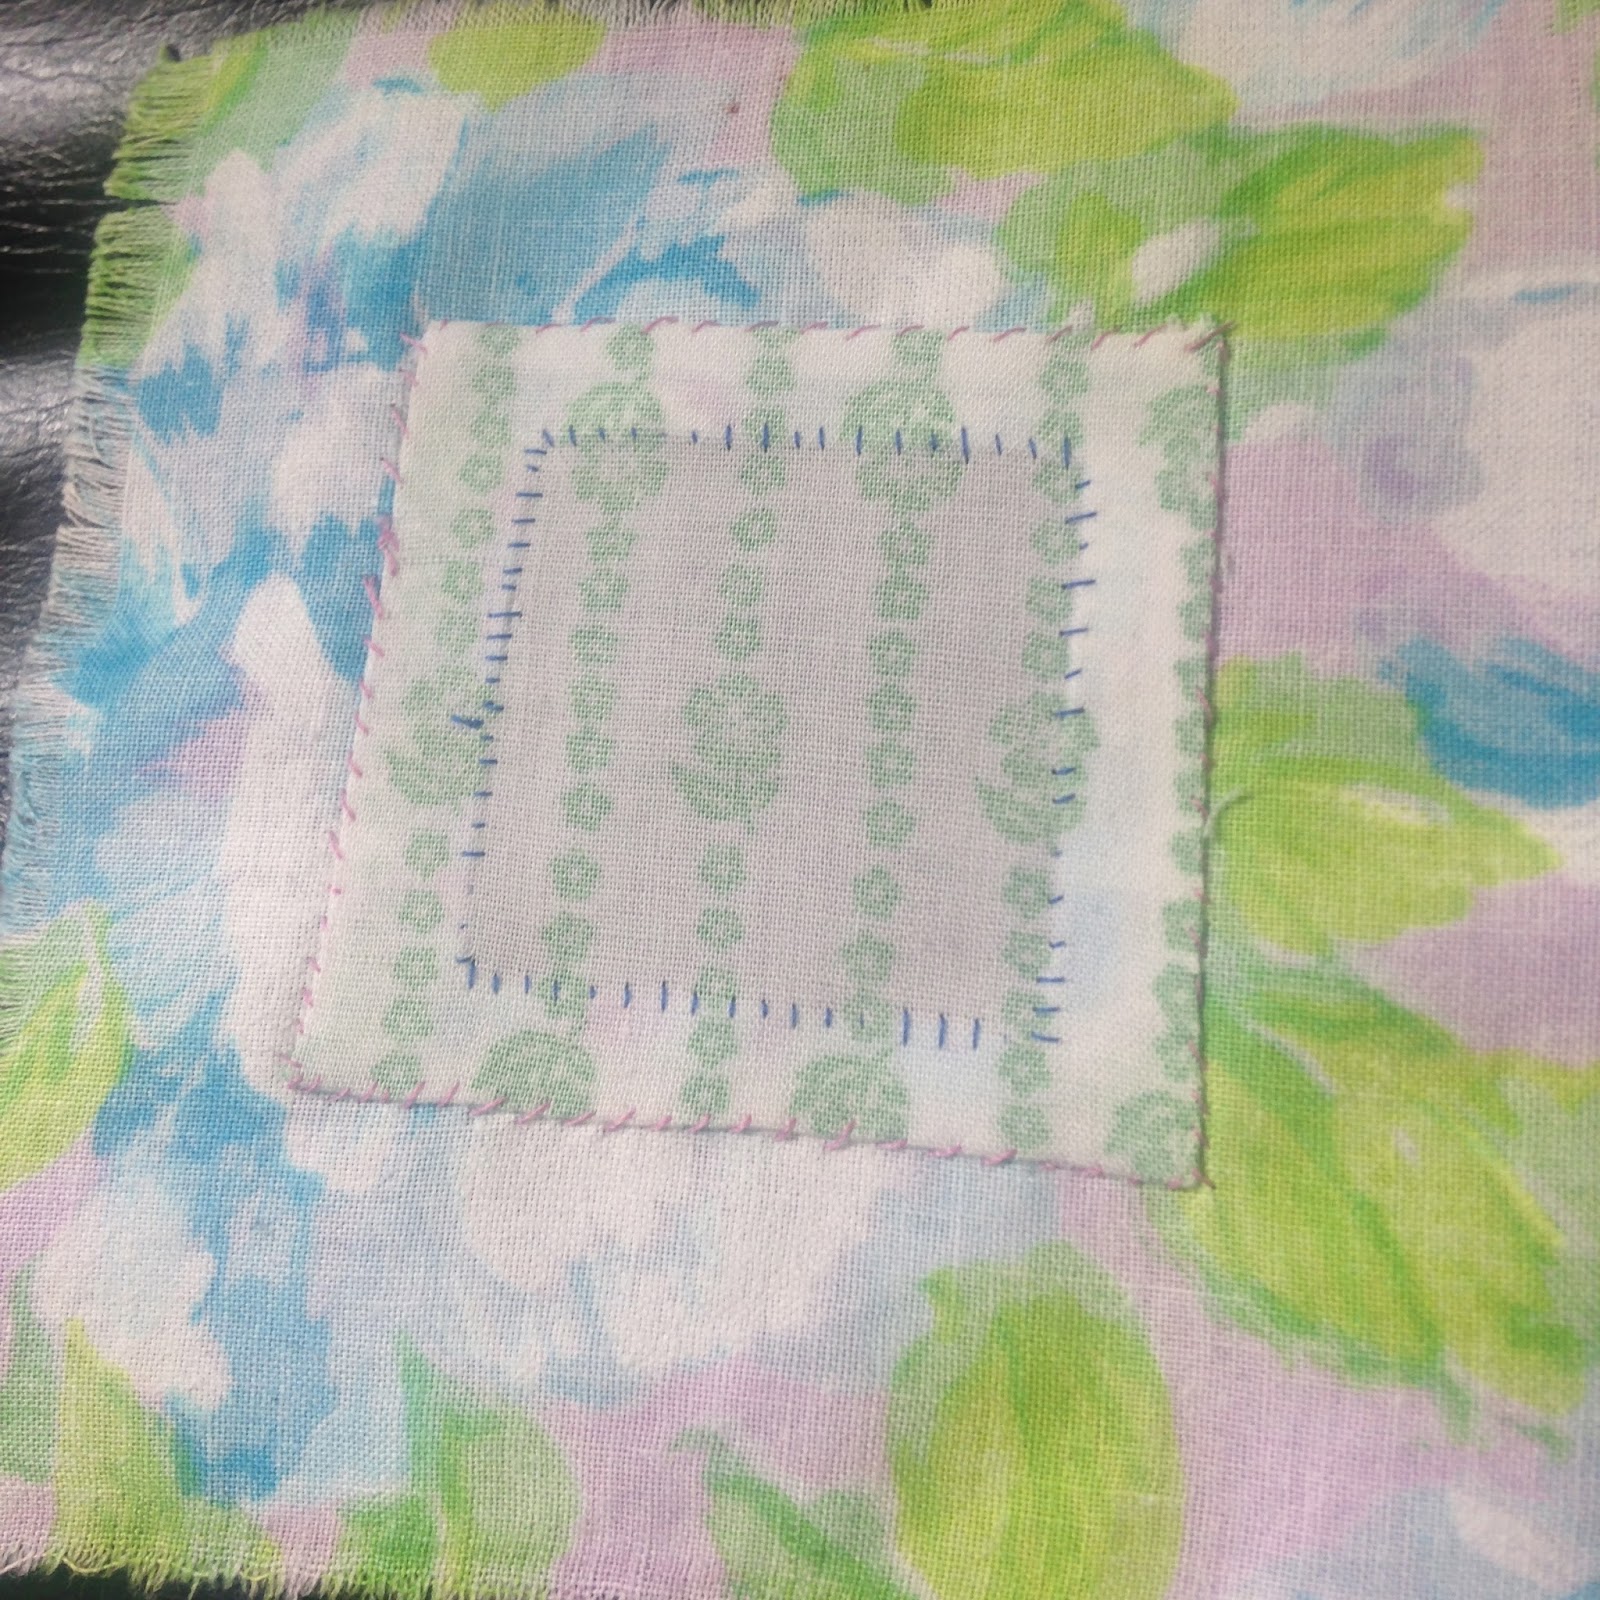
| Front view |
 |
| Front view close up |
 |
| View from Wrong Side |
 |
| View from Wrong Side Close Up |
 |
| Book page with Hemmed Patch Instructions and Illustration |
Work in Progress Pictures


No comments:
Post a Comment